Home › News & Updates › Ultimate Guide to Cricut Joy Permanent Vinyl for Stickers
Ultimate Guide to Cricut Joy Permanent Vinyl for Stickers
Published 2026-06-16
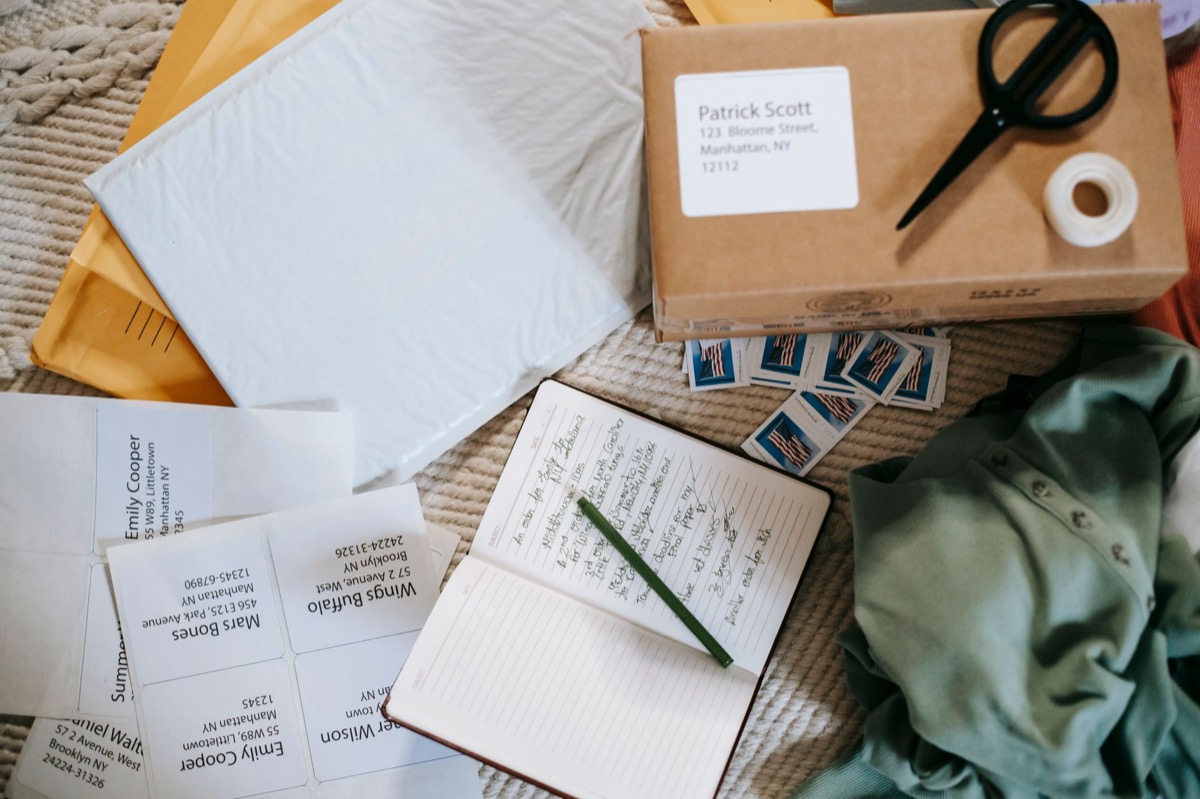
Photo: Liza Summer / Pexels
The availability of Cricut Smart Permanent Vinyl for the Joy machine, including options like the 5.5in x 48in white roll, is widely recognized in the crafting community, underscoring its popularity for creating durable projects. This type of vinyl is a go-to for many makers looking to personalize items with designs that last.
For Cricut Joy owners, choosing the best Cricut vinyl for stickers and decals means understanding the different types and how to work with them effectively. This ultimate guide will walk you through everything you need to know about Cricut Joy permanent vinyl, from selecting the right material to mastering its application, ensuring your creations stand the test of time.
Understanding Cricut Joy Permanent Vinyl
Permanent vinyl is an adhesive material designed for long-term applications, offering enhanced durability compared to its removable counterpart. It's often formulated to be water-resistant, UV-resistant, and can withstand outdoor conditions or repeated washing, making it ideal for items like car decals, mugs, outdoor signage, or any sticker you want to last. For Cricut Joy users, the most common option is Cricut Smart Permanent Vinyl. This material is specifically engineered to feed directly into the Cricut Joy machine without a cutting mat, streamlining the crafting process. Its strong adhesive forms a lasting bond with your project surface.
While sticker paper is excellent for creating colorful, custom designs you can print and cut, permanent vinyl offers superior longevity and resilience, especially for single-color cut designs. If you're looking for different material comparisons, you can explore our guide on Best Sticker Paper Compared.
Selecting the Right Permanent Vinyl for Your Project
Choosing the right permanent vinyl involves considering several factors to match your project's needs and aesthetic vision.
Cricut Smart Permanent Vinyl: Specifically designed for the Cricut Joy, this vinyl is available in various colors, metallics, and finishes (matte, gloss, glitter). Its "Smart" feature means you can load it directly into your machine without a cutting mat, which is incredibly convenient for longer cuts.
Color and Finish: Consider whether a vibrant glossy finish or a subtle matte look best suits your design. Glitter and holographic options can add extra flair. White and black are versatile staples, while bold colors make a statement.
Roll Size: Cricut Joy Smart Vinyl comes in specific widths, typically 5.5 inches (13.9 cm), and various lengths to accommodate the machine's capabilities. Always check the dimensions to ensure you have enough material for your design.
Project Application: For items exposed to the elements or frequent handling, opt for vinyl known for its outdoor durability and water resistance. Most Cricut Smart Permanent Vinyl meets these criteria, making it excellent for creating stickers to sell on Etsy or personalizing gifts.
Designing and Cutting Permanent Vinyl with Cricut Joy
Creating your permanent vinyl stickers with the Cricut Joy is a straightforward process when you follow a few key steps:
Design in Cricut Design Space: Create or upload your design. For single-color vinyl projects, ensure your design is ready to cut. Adhesive vinyl designs do not require mirroring — mirroring is only needed for heat-transfer (iron-on) vinyl, which is applied face-down.
Prepare Your Machine: Ensure your Cricut Joy is clean and connected. Select "Make It" in Design Space, and on the next screen, choose "Without Mat" for Smart Vinyl projects.
Select Material Setting: Choose "Smart Vinyl, Permanent" from the material settings. This tells your Cricut Joy the correct pressure and speed for cutting. Always do a test cut if you're unsure or using a new material.
Load and Cut: Feed the Smart Permanent Vinyl directly into your Cricut Joy. The machine will measure the material before cutting. Once measured, press the Go button.
Weeding: After cutting, carefully remove the excess vinyl around and within your design using weeding tools like hooks or tweezers. This step reveals your final sticker design.
Note that vinyl cutting is different from Cricut Print Then Cut, which involves printing an image first and then cutting its outline. Vinyl designs are typically cut directly from the colored vinyl sheet.
Mastering Permanent Vinyl Application for Durability
Proper application is crucial for ensuring your permanent vinyl stickers adhere securely and last. Follow these steps for the best results:
Clean the Surface: Use rubbing alcohol and a lint-free cloth to clean the surface where you'll apply the vinyl. Let it dry completely. This removes oils and residue that can prevent proper adhesion.
Apply Transfer Tape: Cut a piece of transfer tape slightly larger than your design. Place it over your weeded vinyl design, sticky side down. Use a scraper tool to firmly burnish (rub) the tape onto the vinyl, ensuring good adhesion.
Transfer the Design: Slowly peel the transfer tape (with the vinyl design attached) away from the vinyl backing. If parts of the design don't lift, lay the tape back down and burnish again.
Position and Burnish: Carefully position your design onto the cleaned surface. Once happy with the placement, use your scraper tool to firmly burnish the design onto the surface, working from the center outwards to remove any air bubbles.
Remove Transfer Tape: Gently peel away the transfer tape at a sharp angle. If any part of the vinyl lifts, press the tape back down and burnish again before trying to peel.
Curing Time: Allow the vinyl to cure for 24-72 hours before exposing it to washing or heavy use. This allows the adhesive to fully bond with the surface, maximizing its durability.
Key Takeaways
Cricut Smart Permanent Vinyl offers durable, long-lasting results for Cricut Joy users without a cutting mat.
Select vinyl based on project needs, considering color, finish, and required resilience for surfaces or exposure.
Precise cutting requires correct Design Space settings and careful weeding to reveal your final design.
Proper surface preparation, transfer tape application, and curing are essential for strong, lasting adhesion.
Try It Yourself — Free
Once you've mastered creating durable vinyl stickers with your Cricut Joy, remember you can also design and print custom sticker sheets for free using our free sticker sheet maker. For more guidance on achieving perfect printed results, explore our DPI Resolution for Printed Stickers guide.